Every now and then a glaze catches my attention that I want to explore fully, so I came up with a series of test that will give me the widest range of colours with the least amount of effort and repetition.
I have mixed 2 kg of glaze base (removing the colourant) and sieved it.
Protect your lungs!!
As a rule of thumb, I use same weight of water as powder. As I'm mixing a 2 kg batch, I'm mixing it into 2 l of water.
After the sieving, dipping my fingers in glaze will tel me it's thickness. If you can't see your nails - the glaze is too thick. If you can see every little hair on your fingers, it is probably too thin. This one is about right.
After dividing the glaze into smaller batches ( see bottom of the chart on the top of the post)
I use precision scales to accurately weigh the colouring oxides. As per chart, I need 1% chromium oxide, which is in this case equivalent to 1g.
All of them a weighed:
And labeled:
Mixed:
This is Triaxial A:
Then the fun begins. I use a syringe to accurately measure 15 ml into second row cups, 10 ml into 3rd row, 5 ml into 4th row and none into 5th.
By the time I'm done with the corner A, it looks like this:
repeat the same with the other 2 corner cups.
It is easy to see the 3 different colour glazes:
stir thoroughly:
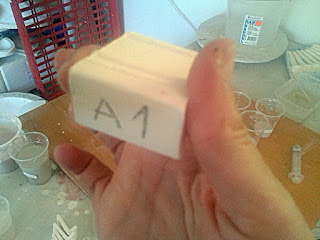
label test tiles:
dip:
repeat until all done:
Wash all cups, sticks etc, and repeat for the 2nd, 3rd, 4th, 5th and 6th triaxial....
I also use some extra tiles to combine the leftovers. You can see it in the top left corner of the above chart.
G is the base glaze with no additions....etc
I have just used every single bisque fired test tile I had in the studio...108 of them.
The kiln is on......


Amazing and thanks for a simple and accurate procedure being described!
ReplyDeleteHi Barbara,
ReplyDeleteI'm glad you like it :)